Telescope Kit from Japan
My boss was in Japan on business last month (December 2006) and brought me back a refracting telescope! Here's the box it came in, all of 3 centimeters thick.
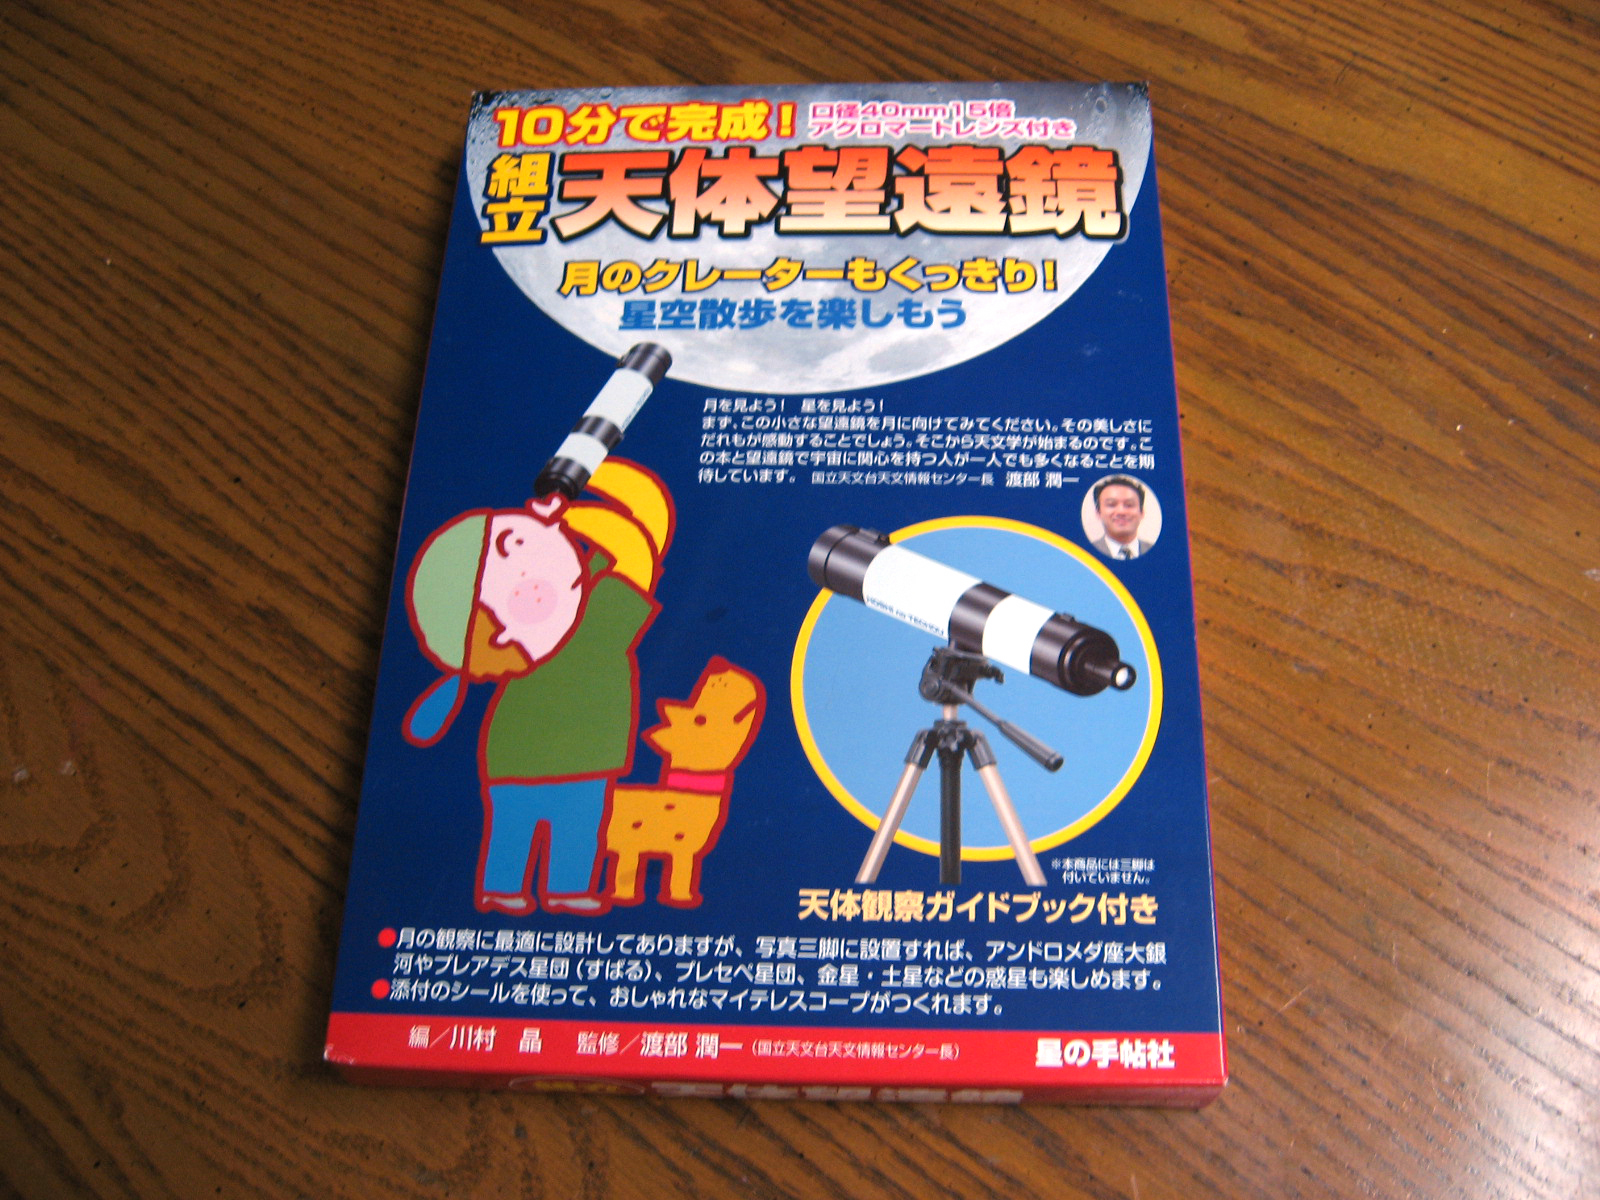
Clearly some assembly was going to be required. Given the lightweight box I assumed this was going to be built out of paperboard or some other flimsy material, so I left it at home in the box over Christmas, fearing that an assembled scope wouldn't survive a plane trip back, crammed in the carry-on luggage. It turns out I needn't have worried; it turned out to be well built and sturdier than you might expect for a kit. I'm also really impressed with the design and polish of this kit, and even the packaging. It 's really easy to put together, but someone clearly spent a lot of time designing all the little details. No space is wasted in the packaging, and all the pieces fit together exactly as they should.
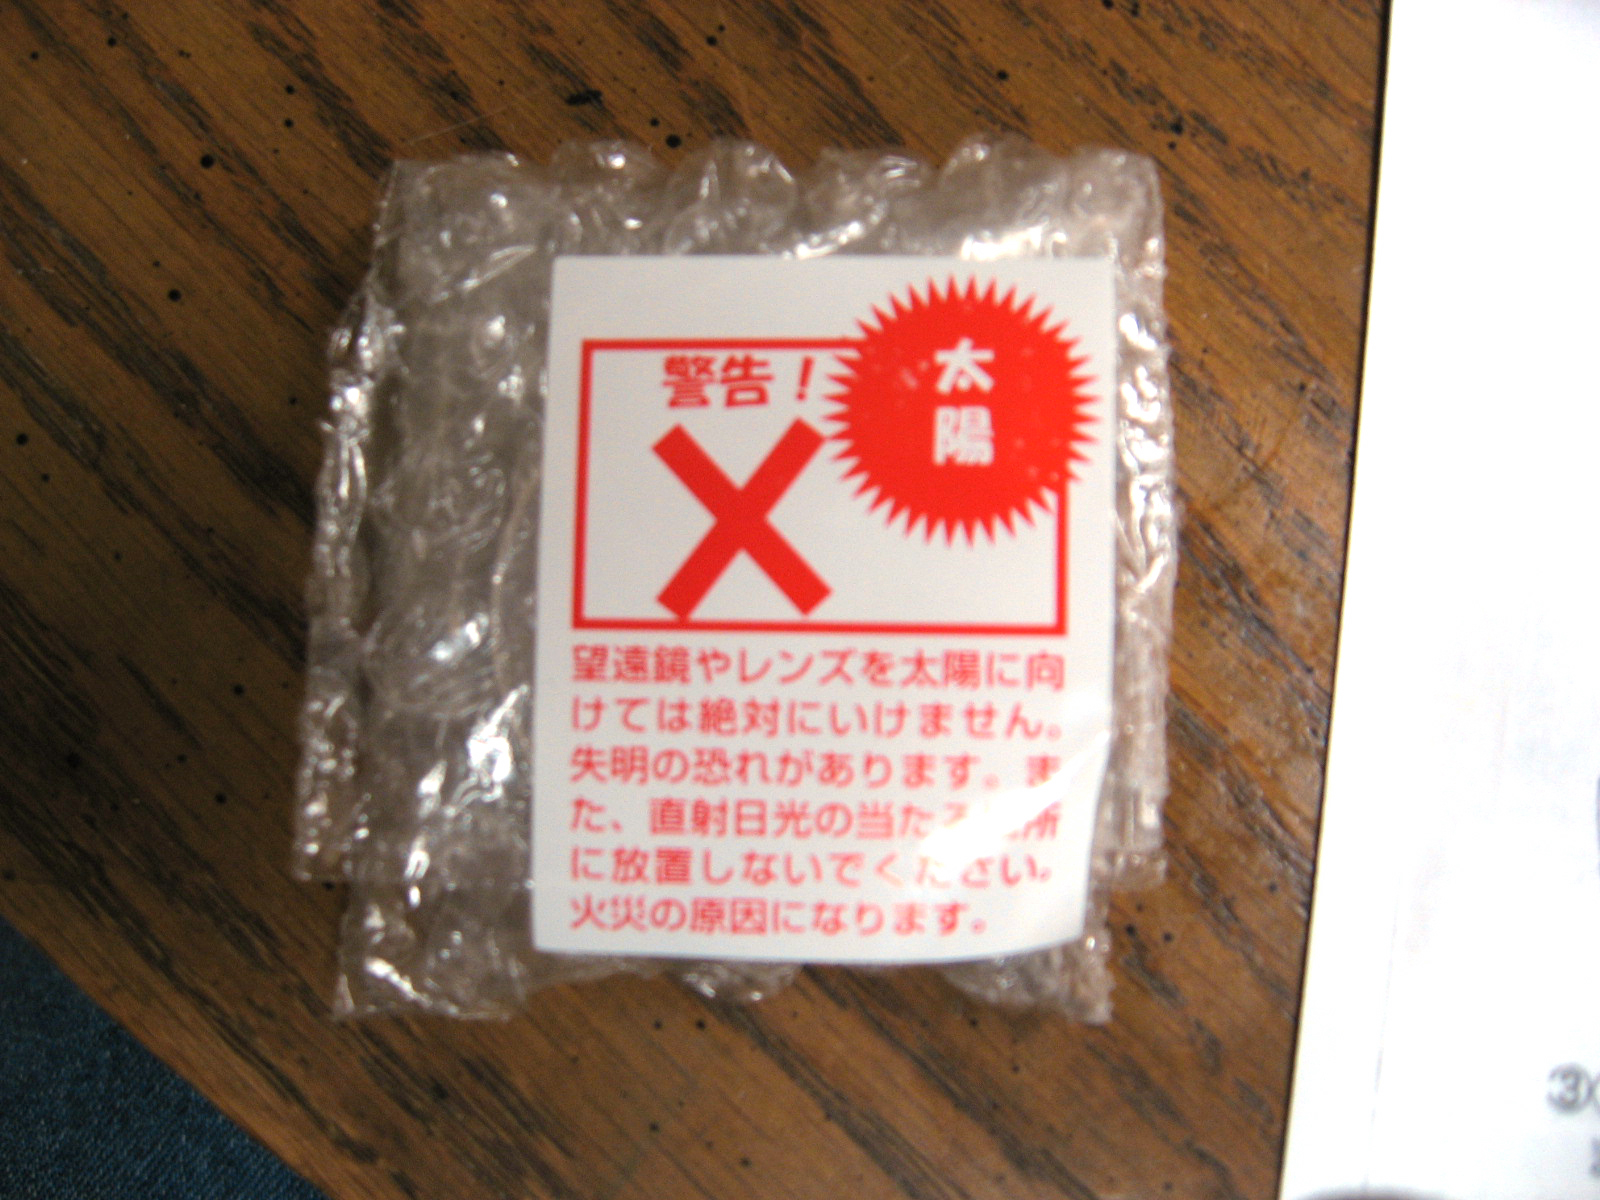
Before we open it up, here's my favorite graphic on the box:

I don't think you need to read Japanese to know what this is saying: don't look at the Sun through a telescope OR YOUR EYES WILL CATCH ON FIRE!!!
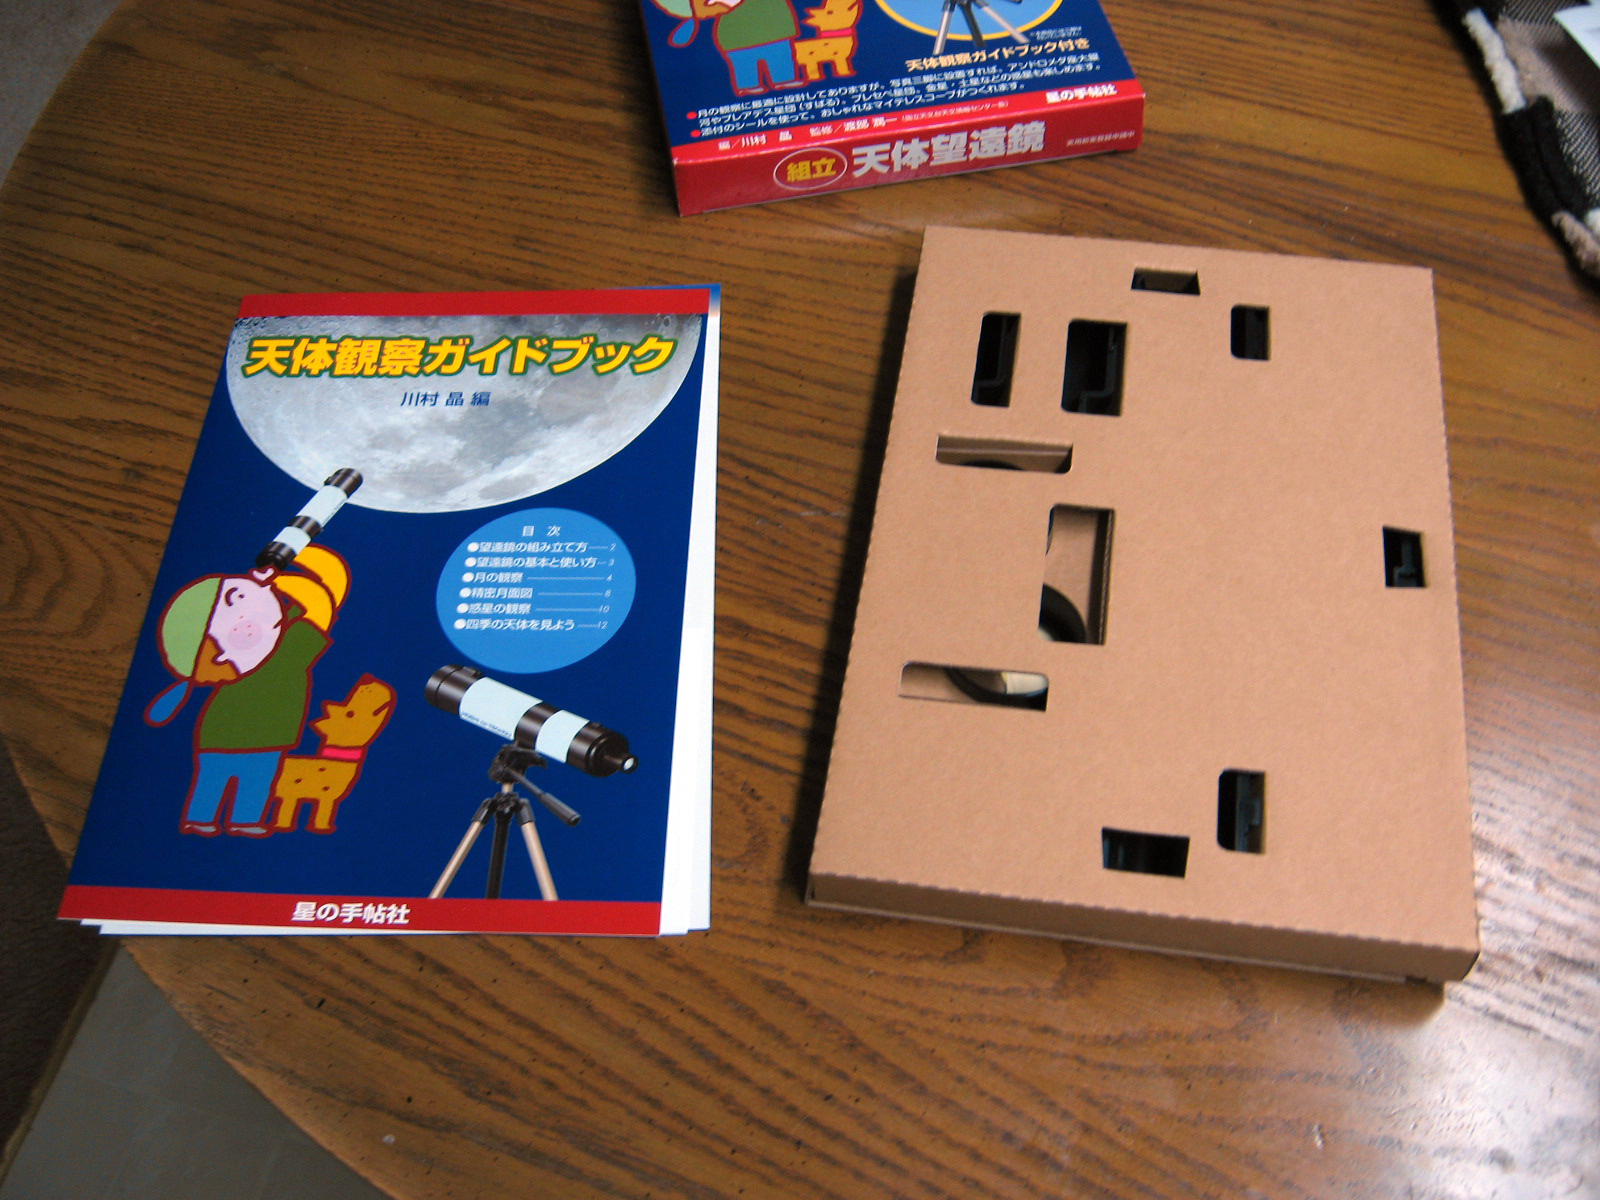
Okay, let's see what's inside!
Of the 16 pages in the manual, only one page is dedicated to the kit's assembly. Of course, it's entirely written in Japanese. One of my boss' contacts in Japan translated a few of the key points, but with a little careful thought this kit can be put together just by following the few illustrations provided. The rest of the manual contains star charts, a Moon phase calendar through 2011, a map of the Moon, and other assorted hints and tips.
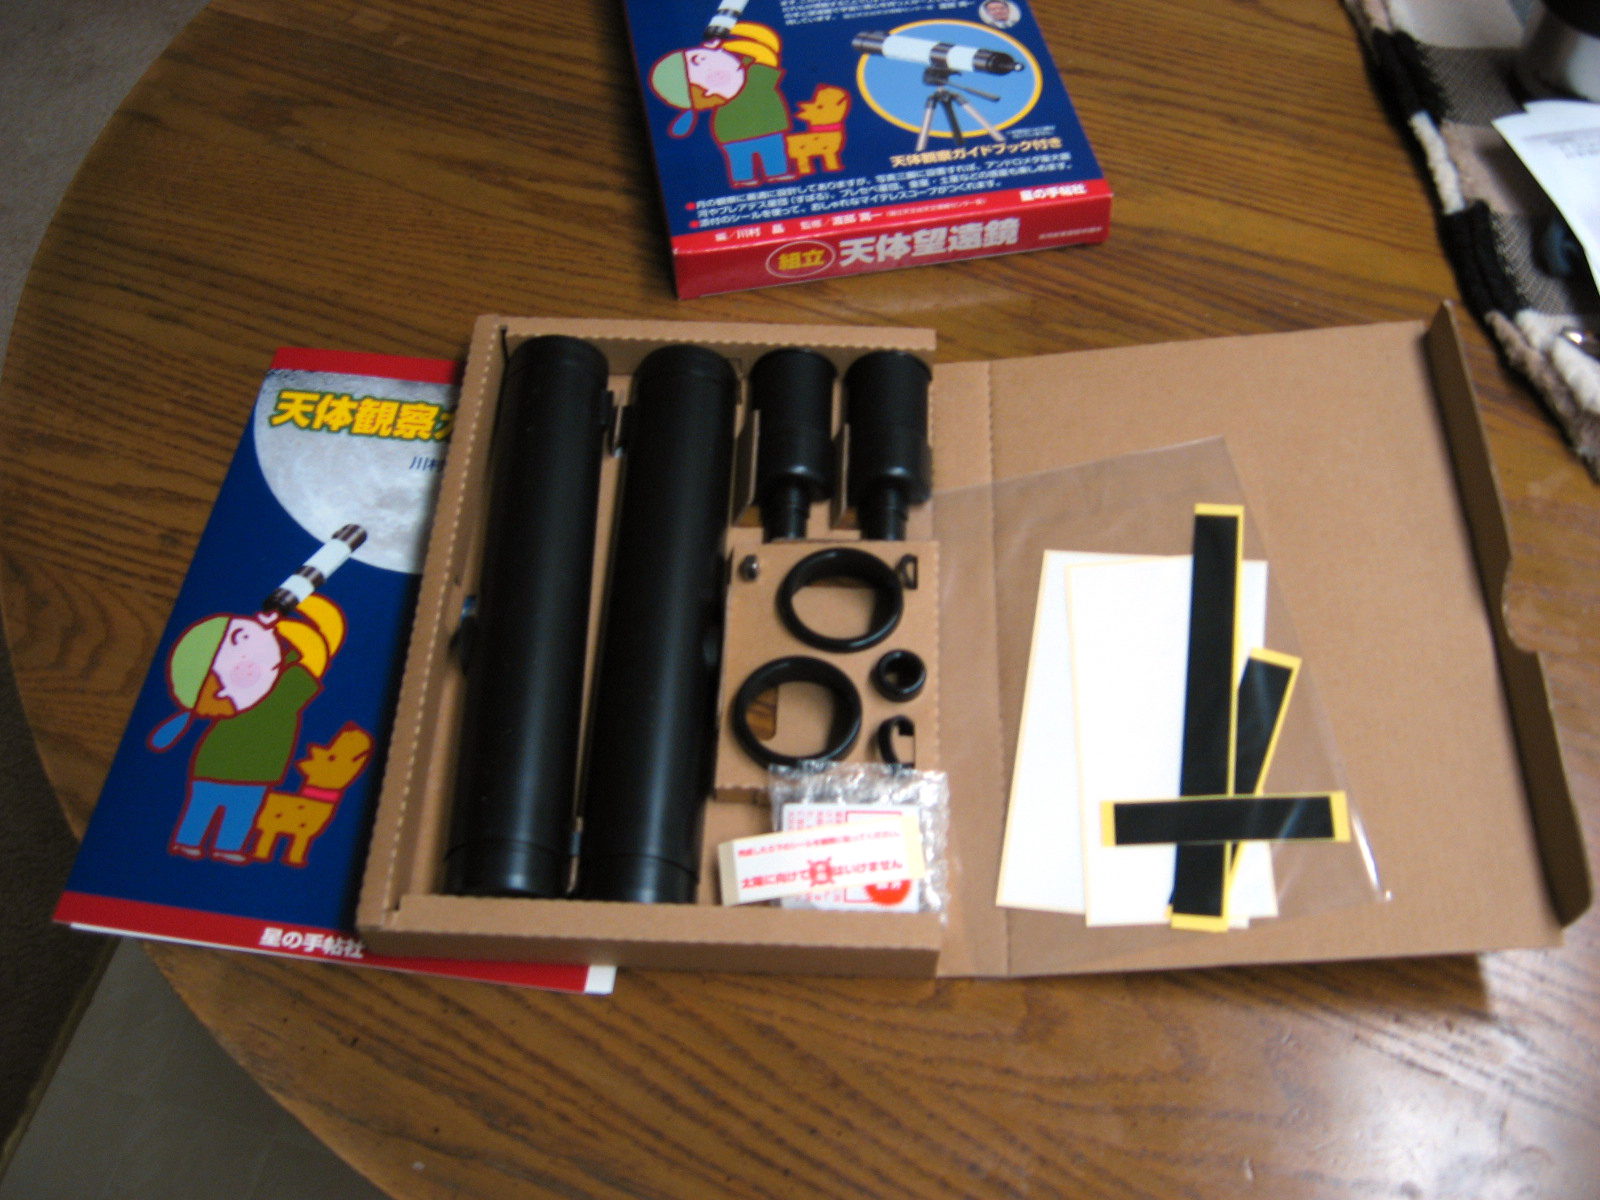
At last, inside the box:
A packet of lenses enclosed in bubble wrap, and sealed with another warning!
The eyepiece assembly gets put together first. The three little lenses fit securely and precisely in slots provided in the plastic housing.
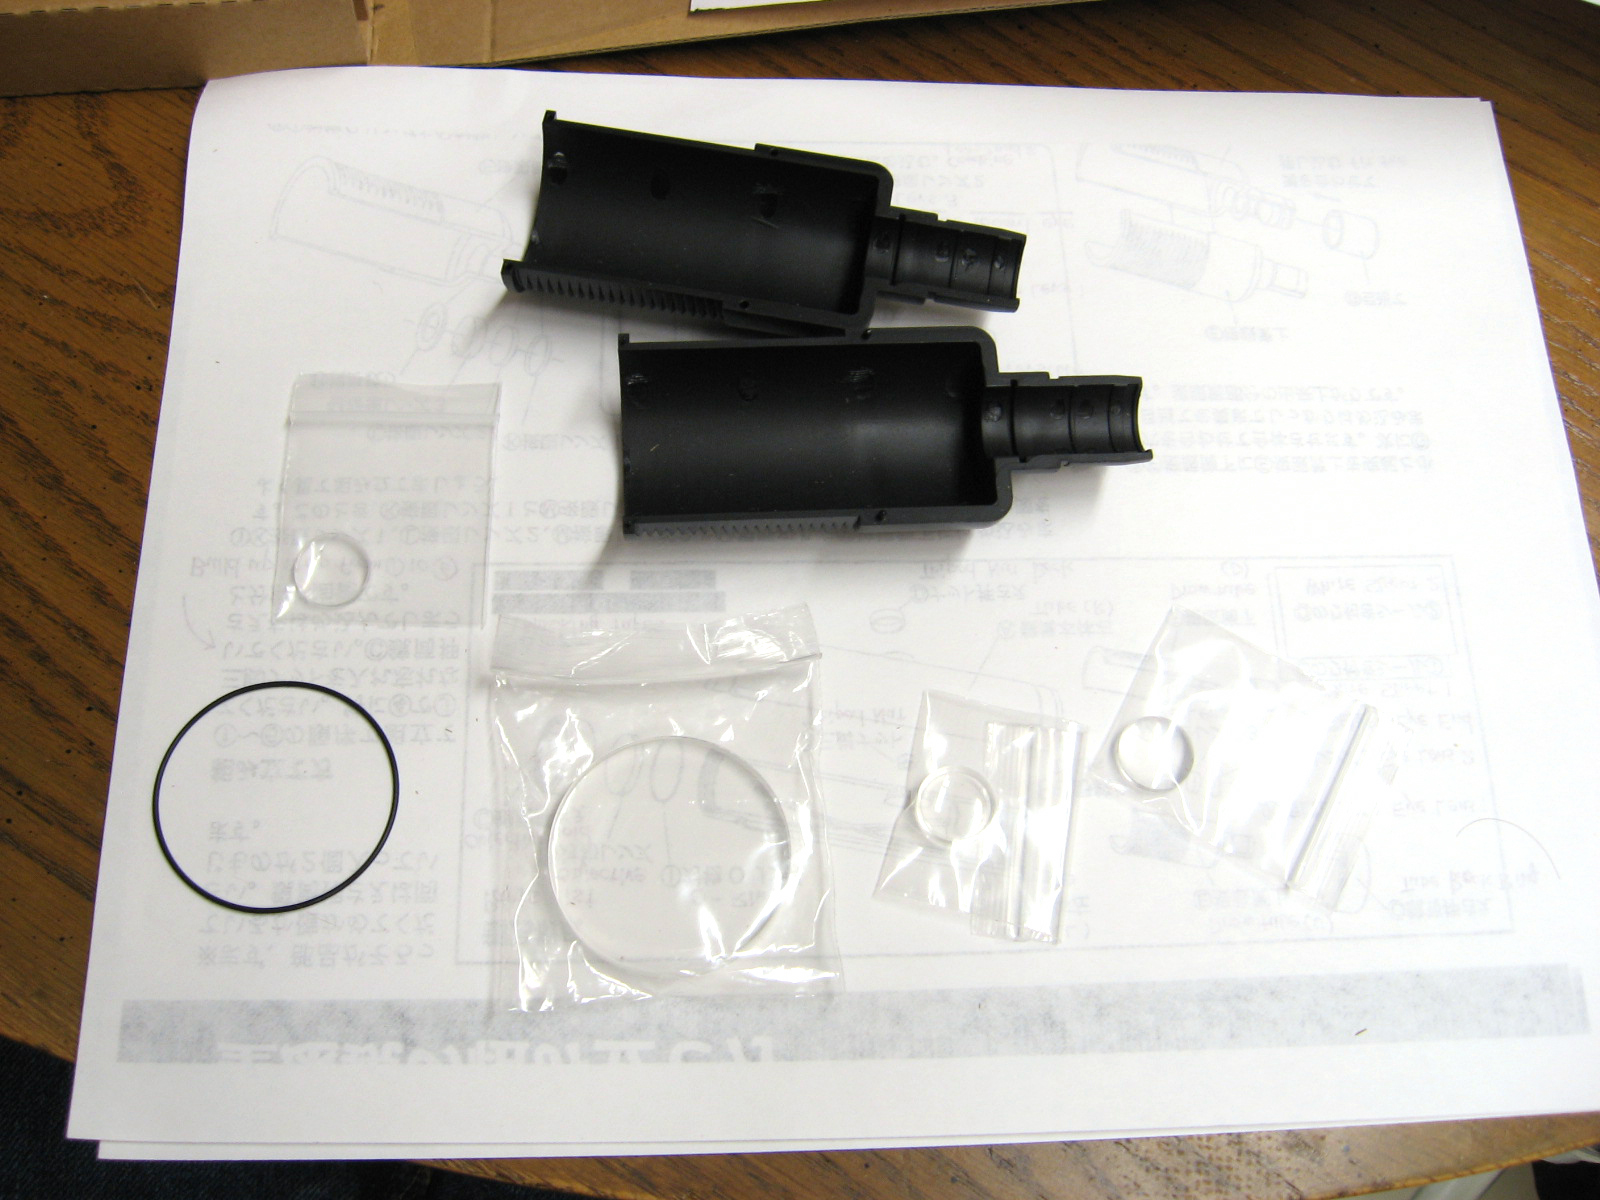
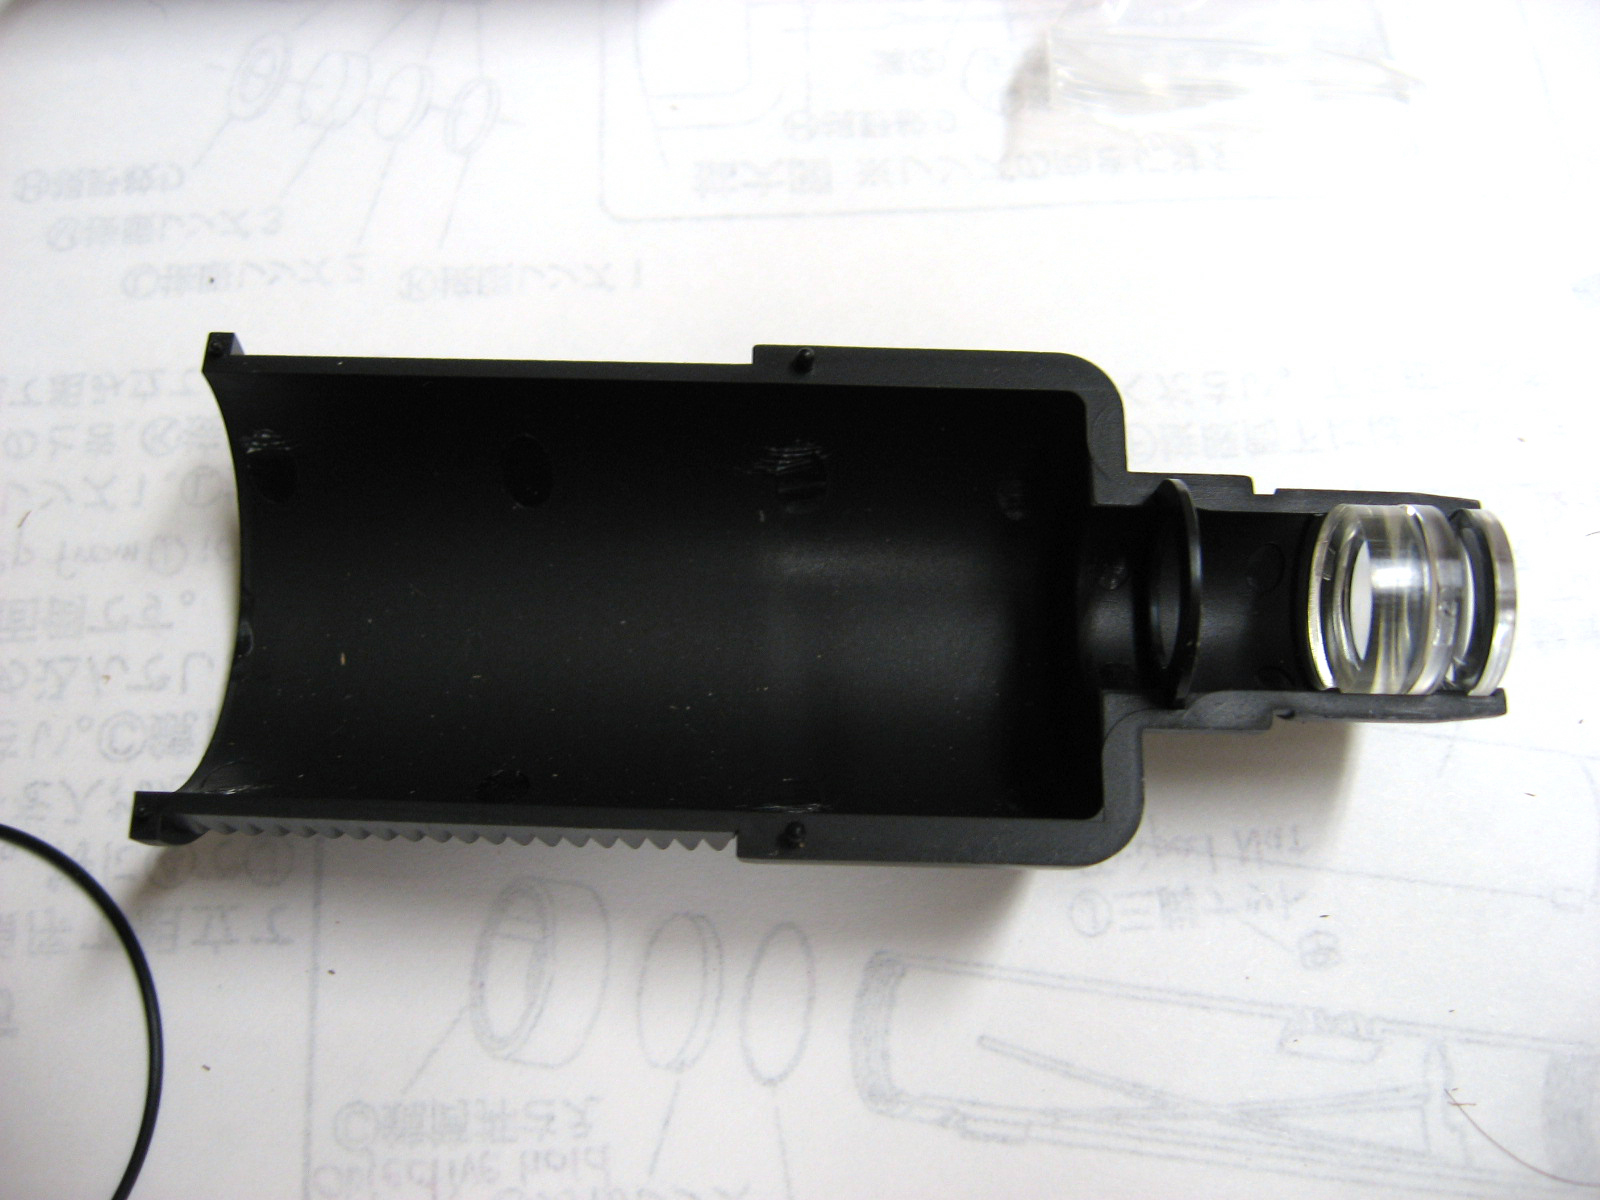

The primary lens (on the left) has a rubber o-ring to go around it.
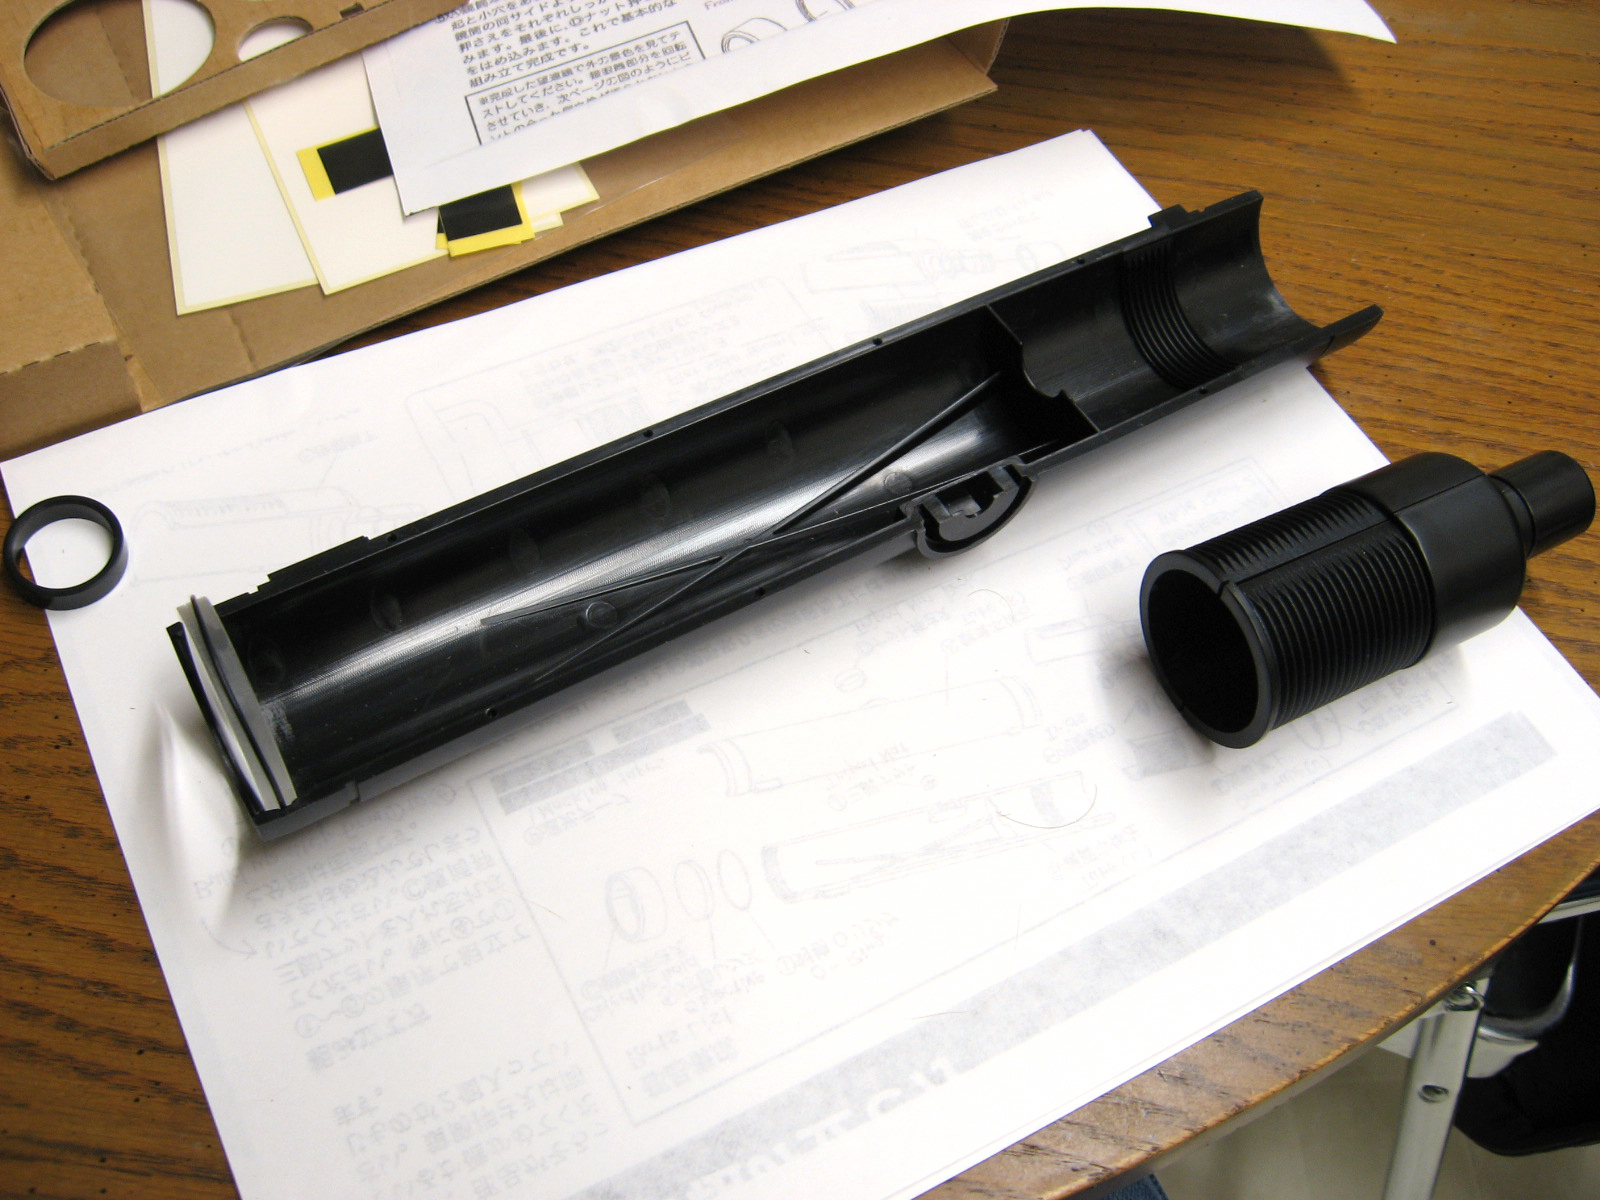
The eyepiece assembly goes in the main tube. Notice the stop a few inches down the tube which prevents the eyepiece from screwing down so far that it falls in. If you twist the eyepiece assembly the other way, another stop keeps it from falling all the way out of the tube.

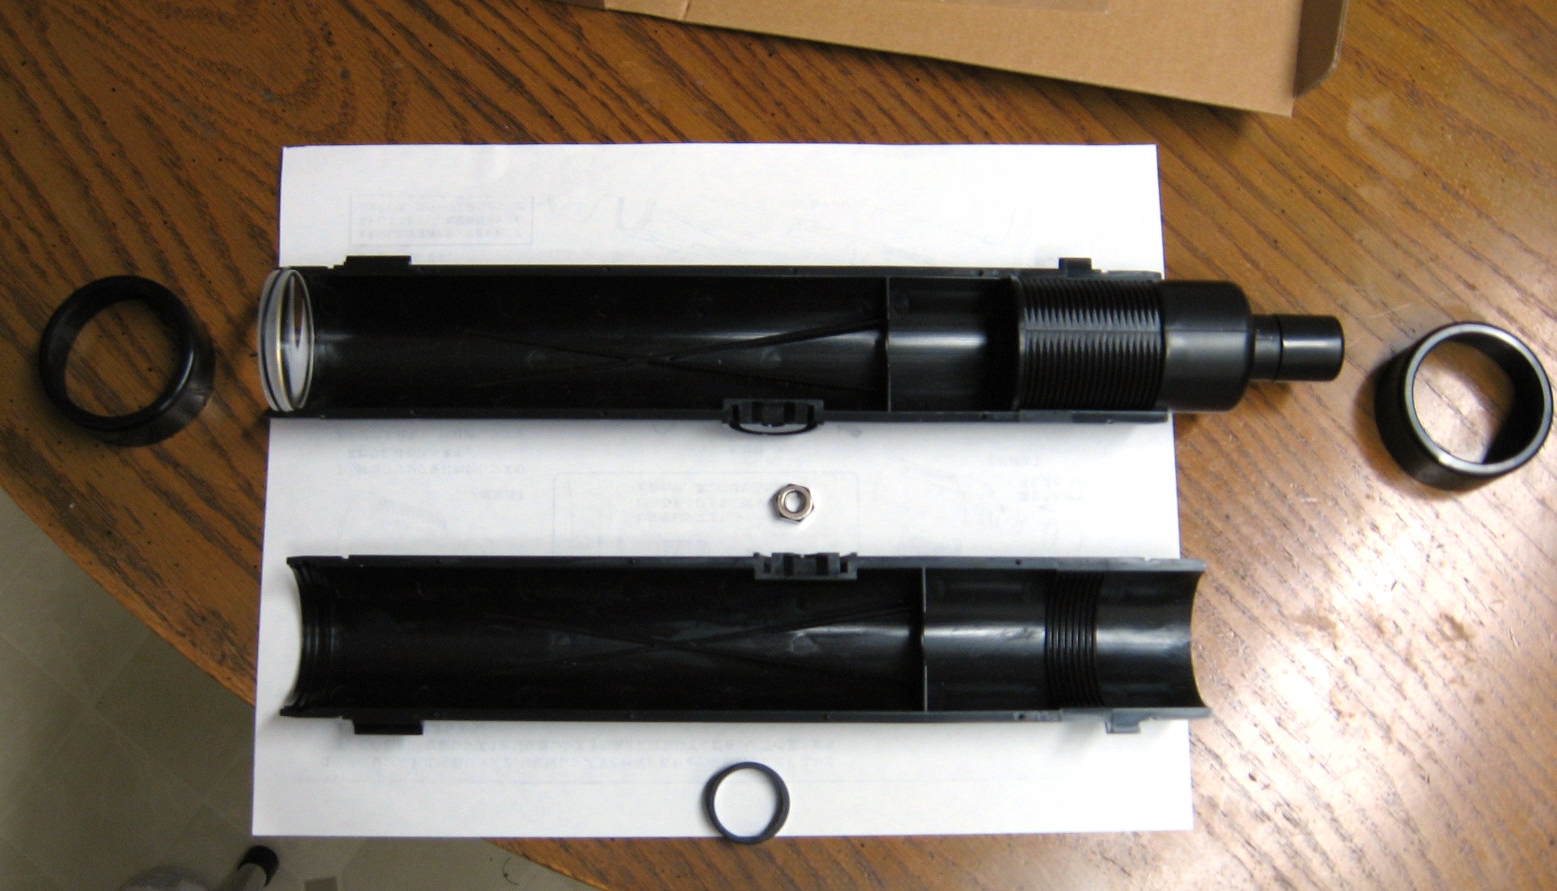
Time to put it all together - the nut is there as an attachment point for a tripod (not included!)

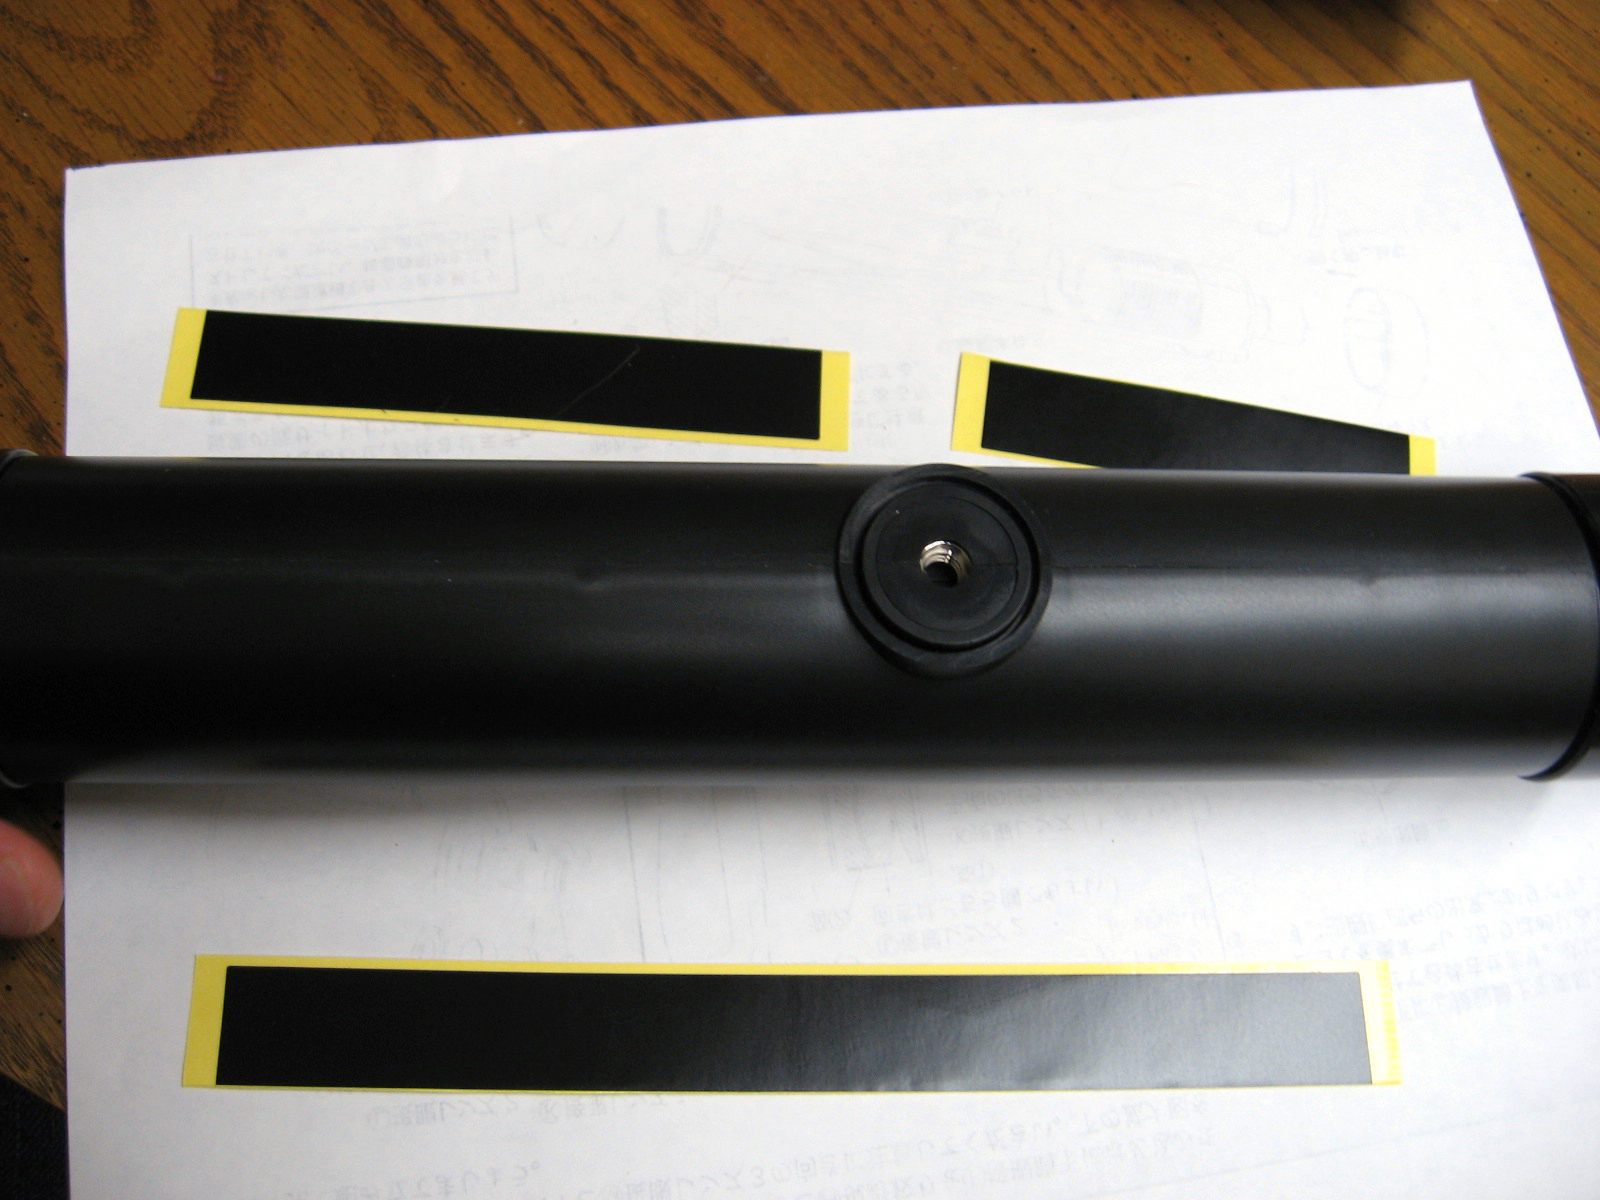
Next are a few pieces of black tape to seal up the seams. Note that they're pre-cut to the right lengths!
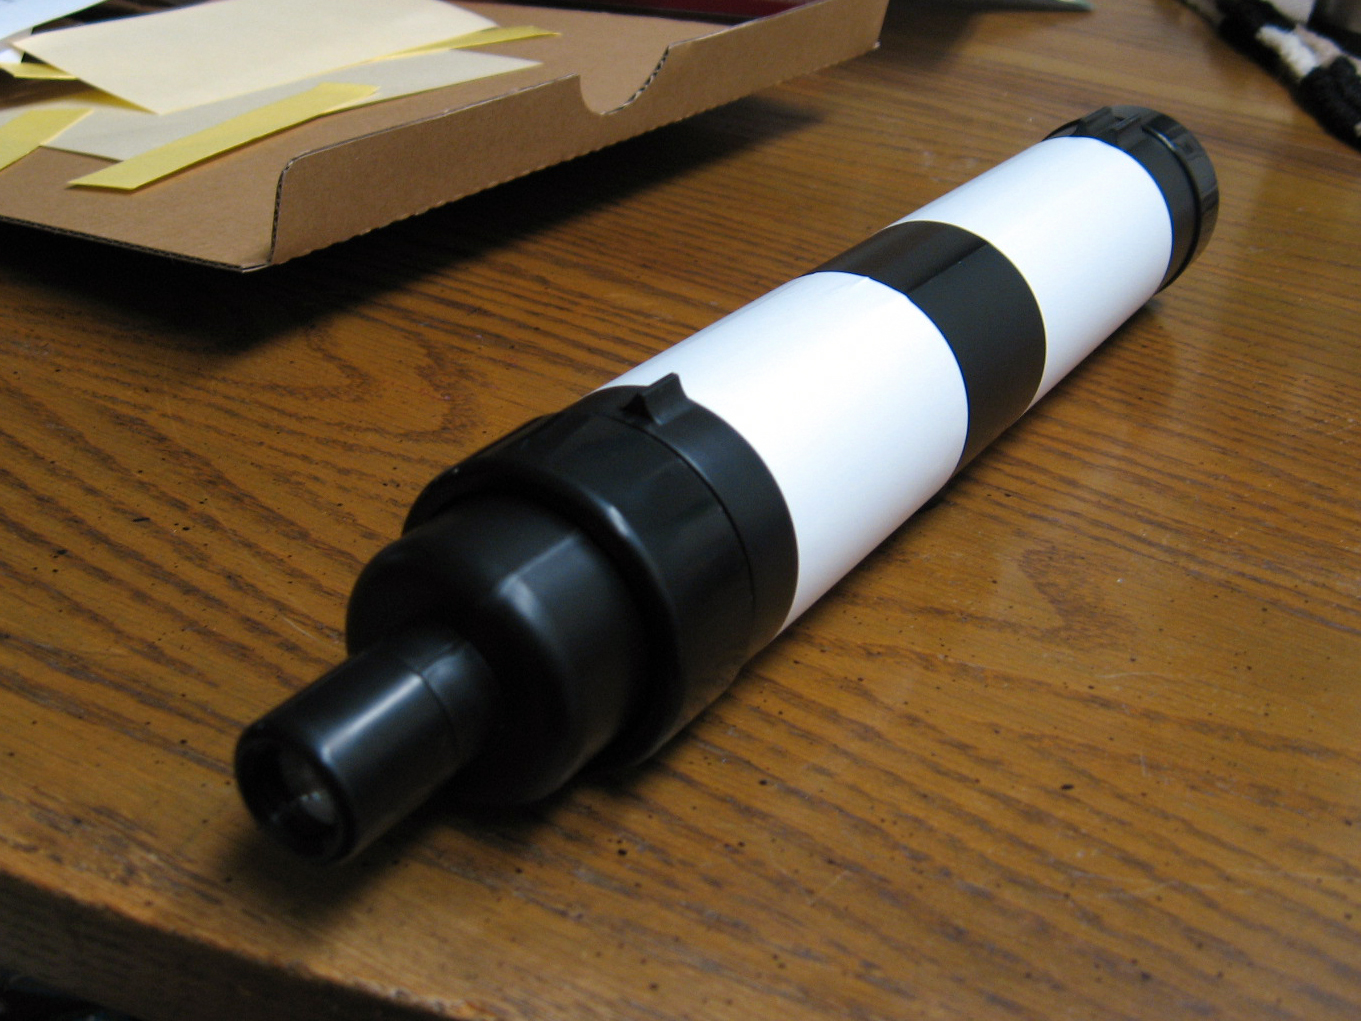
The hardest part of the whole process was the last step - putting on the lovely white decorative labels around the tube. For each one, I had to try twice to get the label angled just so, so that the ends would meet up.
It's cloudy tonight, so I haven't yet tried it out on any astronomical objects. But there are plenty of buildings and streetlights to try, and so far it looks great. The optics are clean, unscratched, and actually made out of glass, not plastic.
There aren't any labels on the eyepiece to tell me any of the important information, and I'm a little stuck on how to figure out magnification right away. Even after googling around for images of eyepiece diagrams, I'm not even sure what kind of eyepiece it is. But the scope's focal length is 300mm, diameter 40mm, for a focal ratio of f/7.5.
Finally, the cost: the sticker on the back says it cost 1580 yen, which is about 13 dollars. Not half bad.